
How to Fix Broken Landscape Lighting Wire
If a section of low-voltage wire is cut, nicked, or corroded, you fix broken landscape lighting wire by locating the exact point of damage, cutting back to clean copper on both sides, and joining the ends with a waterproof connector rated for direct burial. The repair itself takes a few minutes once you've found the break — finding it is usually the harder part.
At CLA Lighting, we design and install low-voltage landscape lighting systems across South Florida, and a cut or corroded wire is one of the more common service calls we get. In South Florida yards, broken wires most often come from a shovel, edger, or aerator catching a shallow run, or from years of moisture working into a connection that wasn't sealed properly. Lawn equipment damage shows up as a clean cut; corrosion damage usually shows up as a dim or flickering zone before it fails outright.
It helps to know which kind of damage you're dealing with before you start digging. A single fixture going dark overnight, with nothing else changed, usually points to a clean break or a connector that finally gave out. A zone that's been dimming gradually over weeks, with multiple fixtures affected unevenly, is more often corrosion working its way through several connections at once — and a single splice may only fix part of the problem. Knowing which pattern you're looking at before you grab tools saves a lot of unnecessary digging.
Locating the Break
Start at the fixture or zone that's dark and work backward toward the transformer. A multimeter set to continuity or DC voltage will tell you where the circuit stops carrying power — test at each connection point along the run rather than guessing at the whole buried length.
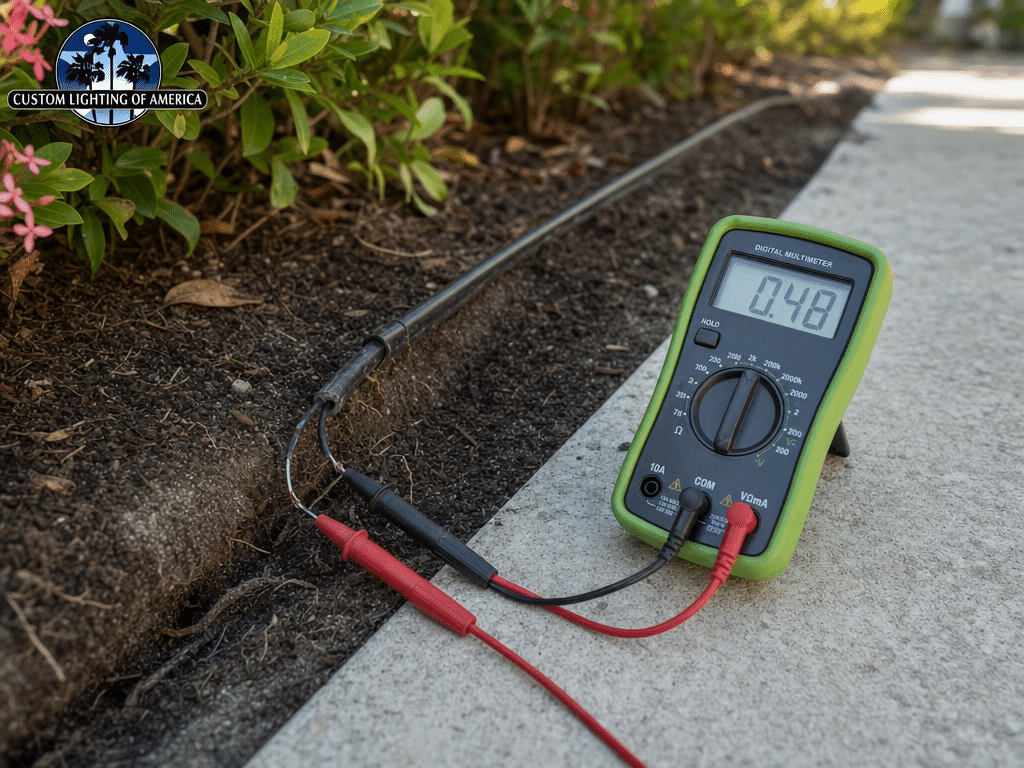
If the wire is buried, look first at any spot that's been recently dug, edged, or where sod was replaced. Exposed wire near a bed edge, a sprinkler head, or a walkway is a common failure point because it gets nicked repeatedly over the years rather than all at once.
Once you've isolated the section with no continuity, you've found your break. You don't need to dig up the entire run — just enough to expose about six inches of wire on either side of the damage so you have room to work.
As a worked example: say two fixtures at the end of a run have gone dark, but the three fixtures closer to the transformer are still working fine. Testing at the connection just past the last working fixture reads full voltage; testing at the connection past that one reads zero. The break sits somewhere in that section of wire — not anywhere else on the run. That's the six-foot stretch you dig up, not the whole bed.
One distinction worth knowing: most residential landscape lighting is wired in a daisy chain, where each fixture passes voltage along to the next. That's why everything downstream of a break goes dark together, while everything upstream keeps working. If you instead find scattered fixtures out across different parts of the yard with nothing in between affected, that's less likely to be one wire break and more likely a connection issue at each fixture, or a transformer or load problem worth checking separately before you start cutting into wire that may be fine.
It's also worth testing the suspect section with the transformer powered off and the leads touching bare copper directly, rather than through a connector cap — corrosion inside a connector can give a false continuity reading if you only touch the outside of the cap. A reading that looks fine at the connector but fails once you strip it back is common enough that it's worth the extra step before you decide the wire itself is undamaged.
If you want the fuller picture of how a dark fixture fits into the rest of the system — transformer load, zone wiring, and connections upstream of the break — our full diagnostic walkthrough covers how to check the transformer and connections in order before you start chasing wire.
How to Splice Low-Voltage Landscape Lighting Wire
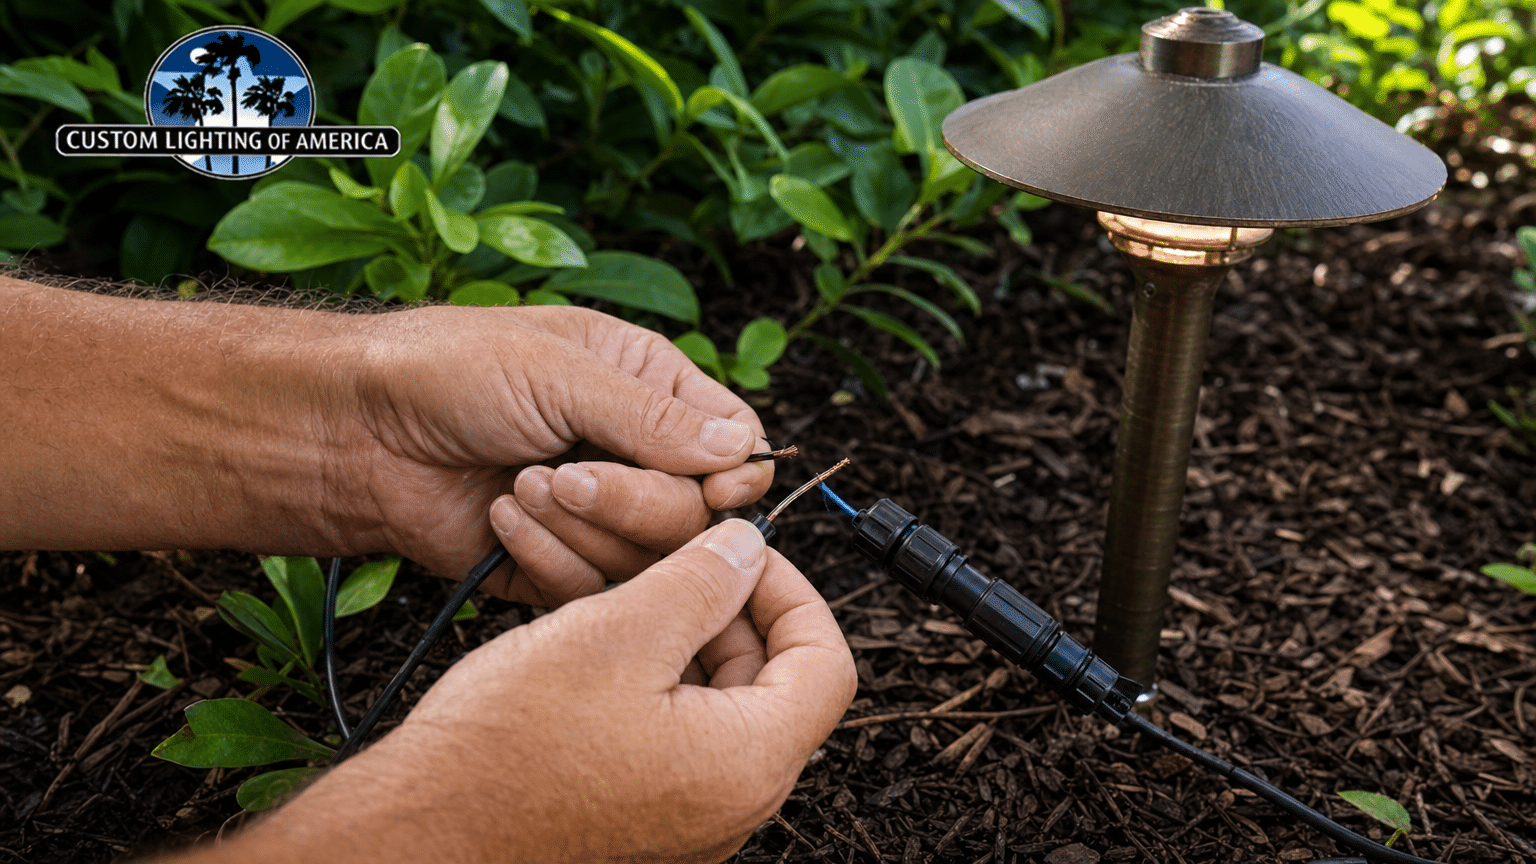
To splice landscape lighting wire, cut back the damaged section until you reach undamaged copper, strip about half an inch of insulation from each end, and twist the bare wires together securely. Then seal the splice with a connector designed for direct burial and constant moisture exposure — this is generally a gel-filled or silicone-filled connector made for underground low-voltage use, not a standard indoor wire nut.
A few things matter more than people expect here. The connection needs to be mechanically tight before it's sealed — a loose twist under a waterproof cap will still corrode and fail. And the seal needs to fully encapsulate the bare copper; a connector that's only snapped on without the gel filling the cavity leaves an opening for ground moisture to get in, which is how a repair that worked for a season quietly fails the next.
A common mistake is twisting the wires together and then wrapping the joint in electrical tape instead of using a proper gel-filled connector. Tape is not rated for constant burial in wet soil, and it tends to fail within a season or two once ground moisture works past the adhesive — often in a spot you've already backfilled and forgotten about, which means digging it up a second time.
Once the splice is made, test the zone before reburying the wire. If the fixture comes back on at the right brightness, you're done. If it's dim, there may be a second issue downstream, or the run may be long enough that voltage drop is part of what's going on — worth checking before you backfill.
If you're splicing more than one break on the same run, make each splice at a slightly different depth or offset position rather than stacking them close together. It's a small thing, but it makes the run easier to trace if you ever need to find a splice point again, and it keeps you from accidentally nicking an old repair while digging for a new one.
Voltage drop is also worth understanding before you decide a splice alone has solved the problem, especially on a long run with several fixtures. If you want to work out whether your run length is pushing voltage drop into a range that causes dimming on its own, our page on how far low-voltage landscape lighting wire can run breaks down why distance and gauge matter together, not distance alone.
What Kind of Wire Do You Use for Landscape Lighting?
Landscape lighting systems run on low-voltage direct-burial cable rated for outdoor and underground use. When you're repairing a run, the replacement splice section should match the existing wire — using a different gauge or an indoor-rated wire at the splice point creates a weak link that's more likely to fail again, often faster than the original break did.
Gauge matters beyond just matching what's already in the ground. A heavier (lower-gauge-number) wire carries voltage further with less drop, which is why longer runs or runs feeding several fixtures in sequence are often wired heavier than a short run feeding one or two lights close to the transformer. If you're replacing a section and the original gauge isn't obvious, it's worth checking the wire's printed markings before you buy a spool at a hardware store — mismatched gauge at a splice point won't always cause an immediate failure, but it can show up later as uneven brightness across the run.
When a Wire Repair Isn't Enough
A single clean splice is a reasonable DIY repair. But if you're finding multiple breaks along the same run, if the dimming started gradually across several fixtures rather than one going dark suddenly, or if the problem keeps coming back after a repair, the issue usually isn't the wire itself — it's the transformer, the connections upstream, or the zone load. Our full diagnostic walkthrough covers how to check the transformer and connections in order before you start chasing wire.
The repairs we get called out for most often aren't a single bad splice — they're systems where one small issue was patched without addressing what caused it. A wire that keeps breaking in the same section, for instance, often means the run was buried too shallow to begin with, or it's sitting under a spot that gets regular foot traffic or equipment passes. Re-splicing it in place just repeats the same failure a season later; rerouting that section deeper or around the problem area is the actual fix.
If you'd rather have someone look at the whole circuit instead of troubleshooting one connection at a time, that's a reasonable call, especially on an older or larger system. It's also worth it if the run in question feeds several fixtures and you want to confirm the voltage drop across the full length is within range before you rebury anything, especially on longer runs.
If you do bring in a contractor, confirm their license and insurance status for outdoor electrical work before anyone starts digging in your yard — requirements can vary by the scope of work, so it's worth verifying directly with the contractor and the relevant licensing authority rather than assuming.
Questions and answers
How do I repair landscape lighting wire?
Locate the break with a multimeter, expose enough wire on both sides to work with, cut back to clean copper, and join the ends with a direct-burial waterproof connector rated for underground use. Test the zone before reburying.
How do I splice landscape lighting wire?
Strip about half an inch of insulation from each wire end, twist the bare copper together tightly, and seal the connection with a gel-filled or silicone-filled connector made for buried low-voltage wire — not a standard indoor wire nut or electrical tape.
What kind of wire is used for landscape lighting?
Low-voltage direct-burial cable rated for outdoor and underground use. Any splice repair should match the gauge and rating of the existing run rather than mixing in an indoor-rated wire, since mismatched gauge can show up later as uneven brightness.
Why do several fixtures go dark at once instead of just one?
Most residential systems are wired in a daisy chain, so a break anywhere on the run cuts power to every fixture downstream of it, while fixtures closer to the transformer keep working. If fixtures scattered across different areas go dark instead, the cause is more likely a connection or load issue at each fixture rather than a single wire break.
If repeated breaks or dimming across several fixtures suggest a bigger issue than one bad splice, reach out to CLA Lighting to have your system looked at.